Download and Install the Plugin
You can download the FedaPay plugin: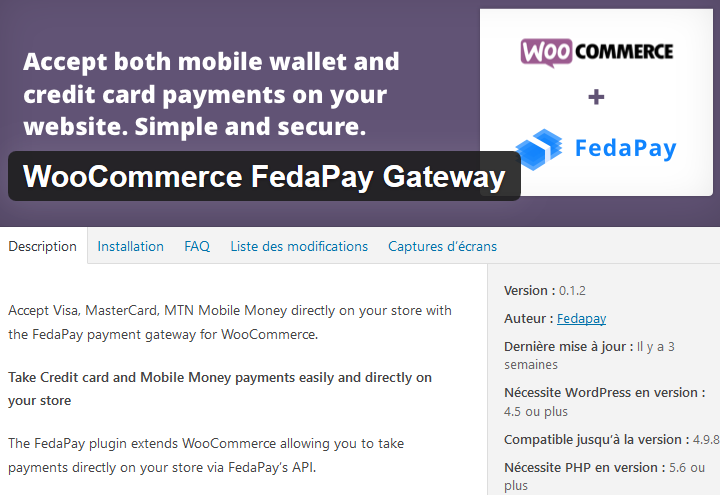
- Directly from this link
- Or from your WordPress dashboard, go to Plugins > Add New and search for “FedaPay WooCommerce.”
Activate the Plugin
Once the plugin is installed, activate it by clicking on Activate. Then, go to the WooCommerce settings to finalize the configuration.
Access WooCommerce Settings
To configure FedaPay, go to your WordPress dashboard and click on: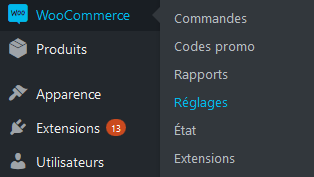
- WooCommerce
- Settings
- Payments
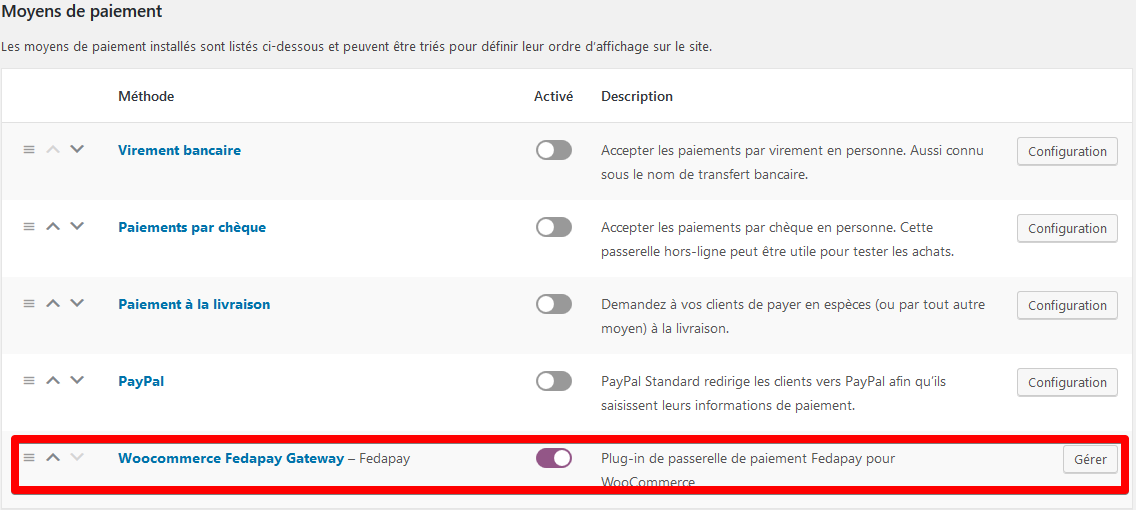
Configure the FedaPay Gateway
Click on Configure next to FedaPay to open the configuration options.Here are the key settings to configure: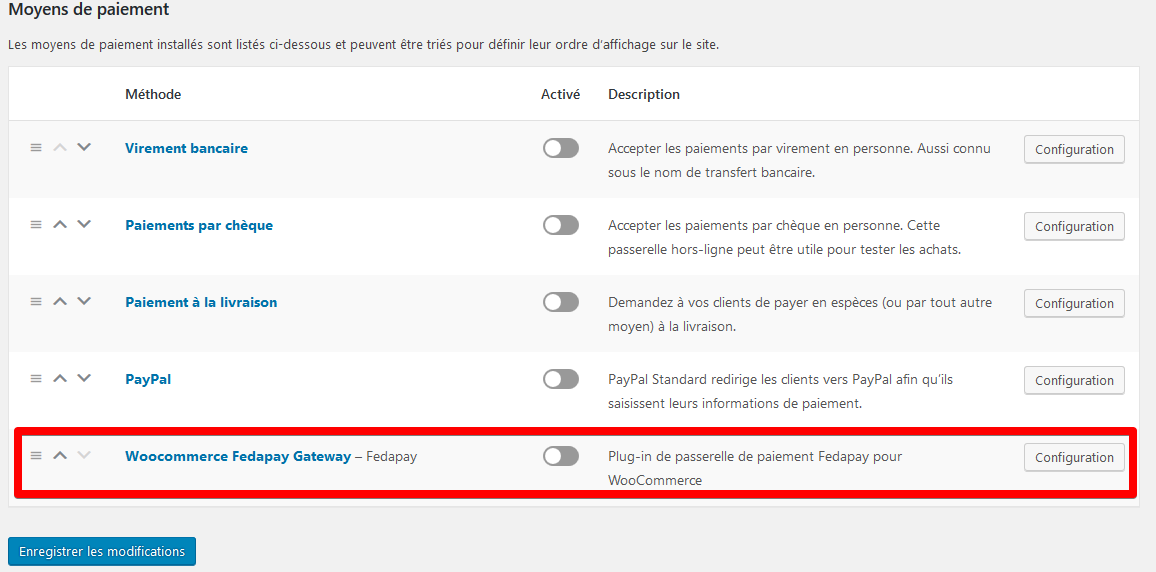
- Enable FedaPay: Check this option to enable FedaPay and start receiving live payments.
- Test Mode (sandbox) : Check this box only if you are testing. Leave it unchecked when you are in live mode to accept real payments.
Retrieve and Enter Your API Keys
To use FedaPay, you need to enter your API keys (private) for both the test and live environments. Here’s how to retrieve them: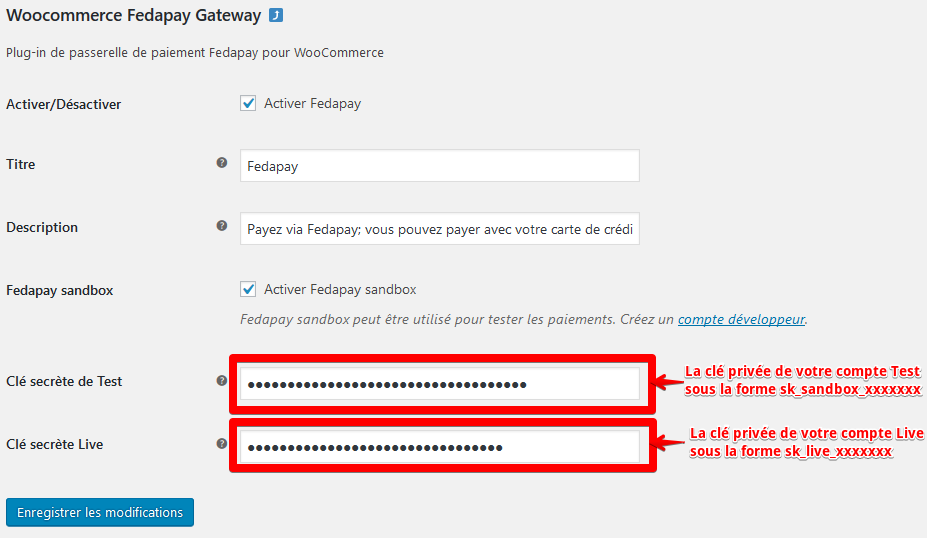
- Log in to your FedaPay account.
- Go to your FedaPay dashboard.
-
Find the API keys for your Sandbox (test) and Live (production) accounts.
- The live mode private key starts with sk_live.
- The sandbox (test) private key starts with sk_sandbox.
- Copy these keys and paste them into the corresponding fields in the WooCommerce settings.
Save the Changes
Once the API keys are correctly entered, click on Save changes to finalize the setup.